
Unlike the first game, Gunvolt Chronicles: Luminous Avenger iX 2 has a true ending like the mainline titles. Getting the true ending is a fairly extensive process, so this guide is here to help out new players in finding their way and giving general tips to help out. This guide is ordered to minimize any backtracking or stage revisits.
The first task is collecting all of the bonus emblems.
Important: Complete these areas in the following order, to ensure you have the required EX Weapon unlocked. For example, complete Volcano Block to obtain the EX Weapon Doomsday Charge prior to the Jungle Block, as it is needed to obtain all of the Bonus Emblems for that area.
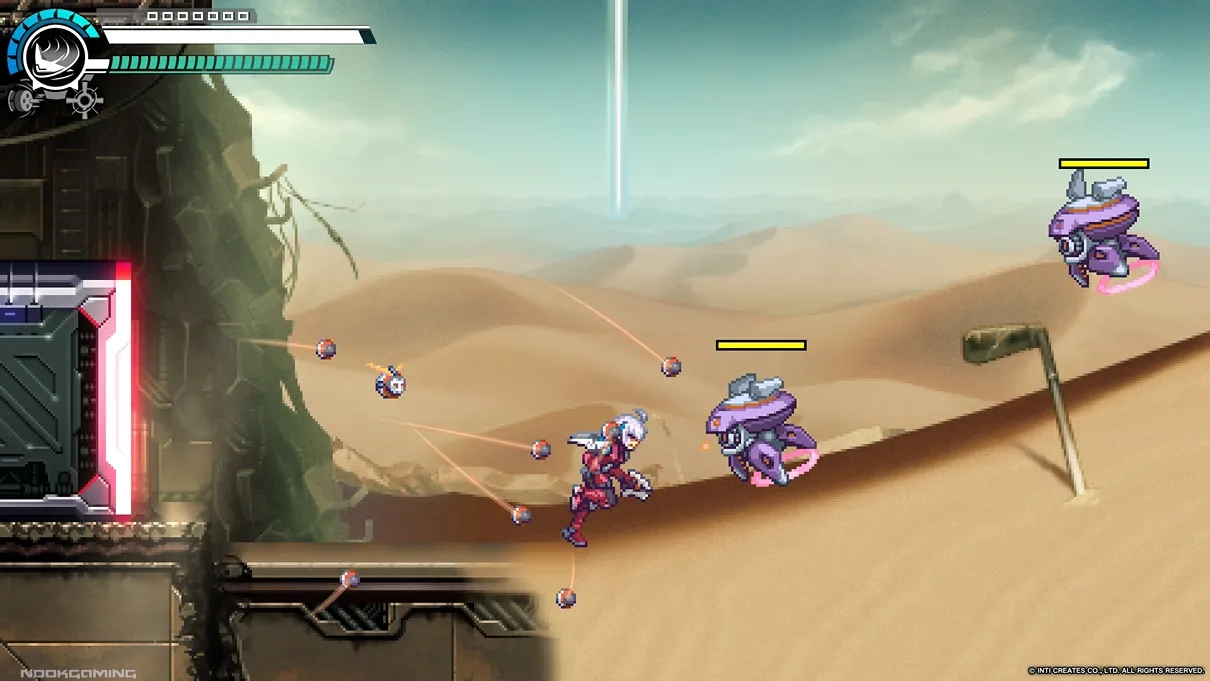
Pillar Outskirts
- Emblem #1: The first Bonus Emblem can be found at the very start. Instead of heading to the right to progress the stage, go left and fly up towards the cliff with the Bonus Medal on top.
- Emblem #2: The second Bonus Emblem can be found after the first checkpoint. After dashing up the long vertical passage in the indoors area, make an upwards u-turn toward the platform resting above you. The Bonus Emblem will be resting on the far left of the platform near the wall.
- Emblem #3: The third Bonus Emblem can be found very near the second checkpoint. While still in the indoors area, dash to the upper right part of the screen from where the checkpoint was.
- Emblem #4: Just after doing the above and crossing some scaffolding to get to the next indoors area, proceed directly right until you come across a wall with a red light shining out of the other end of it. Perform a grounded dash into the wall twice, and it will drop a block on the other side of the wall that will let you grab the final Bonus Emblem.
Volcano Block
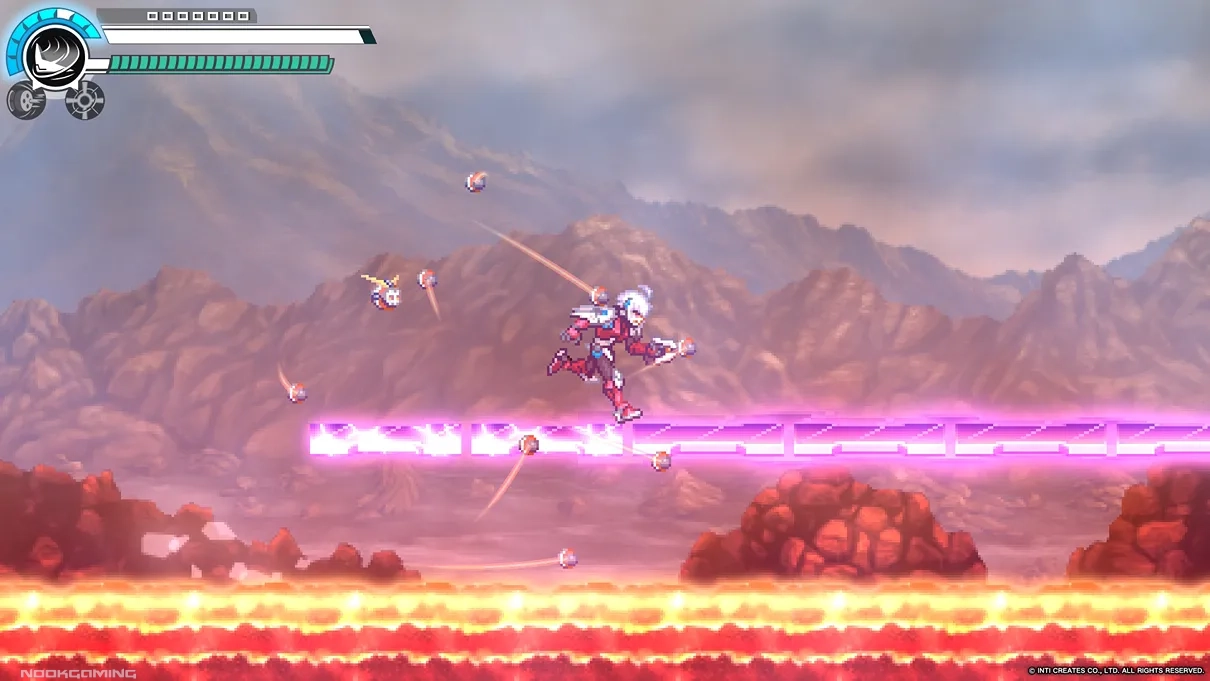
- Emblem #1: After clearing the first section and falling down the cliff into the second section, you’ll be chased by a giant boulder down a steep decline. Instead of running, perform a grounded dash into the boulder, and you will break it, revealing the first Bonus Emblem.
- Emblem #2: The second Bonus Emblem is found further into the second section. After reaching a floating platform made of purple rock, the second Bonus Emblem will be directly below it. To safely reach it, stand just above it and wait for it to break beneath you. Once you break it and grab the Bonus Emblem, immediately dash forward towards a wall that you can wall jump up to to reach safe ground.
- Emblem #3: After reaching the third section of the stage, the third Bonus Emblem can be found in the first magma chase sequence where you have to race upwards. During this, look out for a Chainsaw Barrier enemy (the grey robot with long purple chainsaw blades protruding vertically from both sides) and the third Bonus Emblem will be hidden behind it. Quickly destroy it and grab the Emblem, then head further upwards to escape the magma.
- Emblem #4: The fourth and final Bonus Emblem is found at the start of the third magma chase sequence. Run across the collapsing purple bridge and jump upwards to the crevice on the right of the screen, and the Bonus Emblem will be there.
Jungle Block
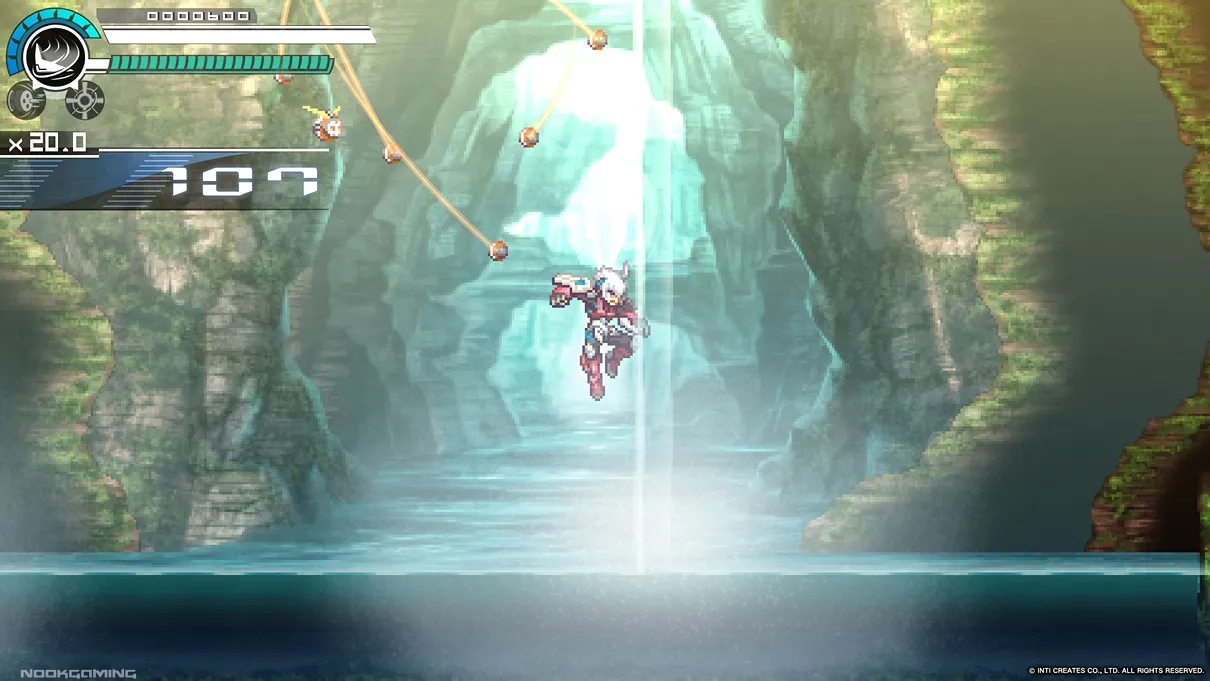
- Emblem #1: Near the start of the level, once you reach the waterfall, instead of jumping down to proceed with the level, fly straight across the pit with a Bullit Dash to reach the other side. The first Bonus Emblem will be resting behind an enemy.
- Emblem #2: The second Bonus Emblem is found after the first checkpoint. After making your way past some ivy, pay close attention once you hit a pit to drop down with waterfalls on both sides. Look for the small cave behind the waterfall to the left, and fly into it with a Bullit Dash. The Bonus Emblem will be directly inside.
- Emblem #3: After destroying the first Hexapyle and reaching the second half of the stage, proceed as normal until you start seeing thorny green vines that damage you on contact. Proceed just a bit further from the first instance of this, and you’ll see the third Bonus Emblem in a small crevice that’s blocked by said ivy. Use Doomsday Charge on the vines and that will burn them down, allowing you to grab the Bonus Emblem.
- Emblem #4: The final Bonus Emblem will be found in the room just after defeating the stage’s only miniboss and just before the main boss room. It is hidden at the top-right cliff at the source of the waterfall that goes down to the boss door. To reach this, you have a few options. The easiest method would be to obtain 1000 Kudos to enter Overdrive Mode, which will allow you to Bullit Dash indefinitely so long as your meter doesn’t run out, which is more than enough to reach the Bonus Emblem. Grabbing a Bonus Emblem will give you 500 Kudos, so just two will be enough to enter Overdrive. Keep in mind that using Colossal Maelstrom, using Lola’s Healing ability, using Checkpoints, or dying will reset your kudos to 0, so play carefully as you proceed. Alternatively, the Bonus Emblem can be reached with a combination of the EX Weapon Whirling Chopper (obtained by clearing Jungle Block) and Copen’s normal more limited Bullit Dash.
Passage to the Upper Stratum
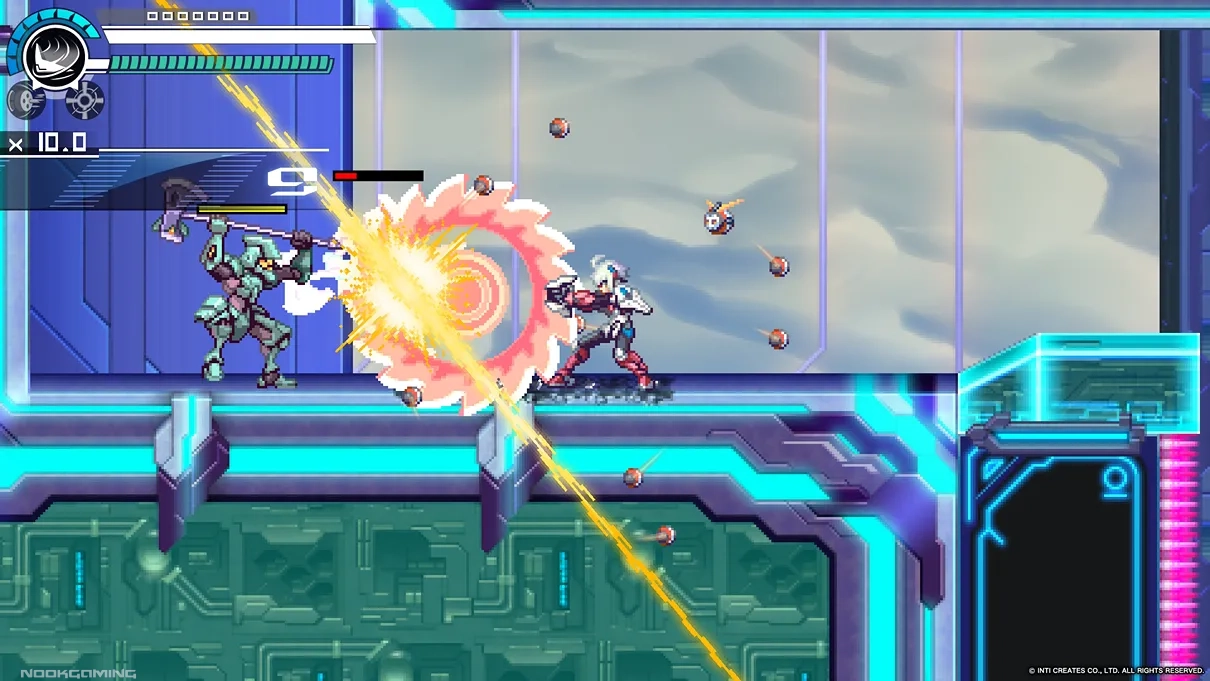
- Emblem #1: The first Bonus Emblem is found roughly 40-60 seconds into the stage. Just after going through the second set of spiked corridors with boosters, scale up the leftmost wall with a large crack in it and go in from there. This will unobscure the Bonus Emblem hidden just behind it, allowing you to grab it.
- Emblem #2: The second Bonus Emblem can be found shortly after the second checkpoint. You’ll notice a small shaft that can’t be reached by jumping or Bullit Dashing. Use your grounded dash to push a large block just under this shaft, and then climb atop the block. From there, jump and then use Whirling Chopper into the shaft, and you’ll be able to safely grab the Bonus Emblem.
- Emblem #3: The third Bonus Emblem can be found just after grabbing the second one. Keep in mind, however, that you need Overdrive in order to reach it. Once you hit a set of midair dash pads, you’ll notice the third Bonus Emblem situated between them. After you grab it, double back by flying with Overdrive’s enhanced Bullit Dash, dodging the dash pads all the while.
- Emblem #4: Shortly after the above, take the next set of dash pads towards the next area that is just before the final indoors area. Fly or wall jump to the far upper left area of the room, and grab the Bonus Emblem sitting in the corner.
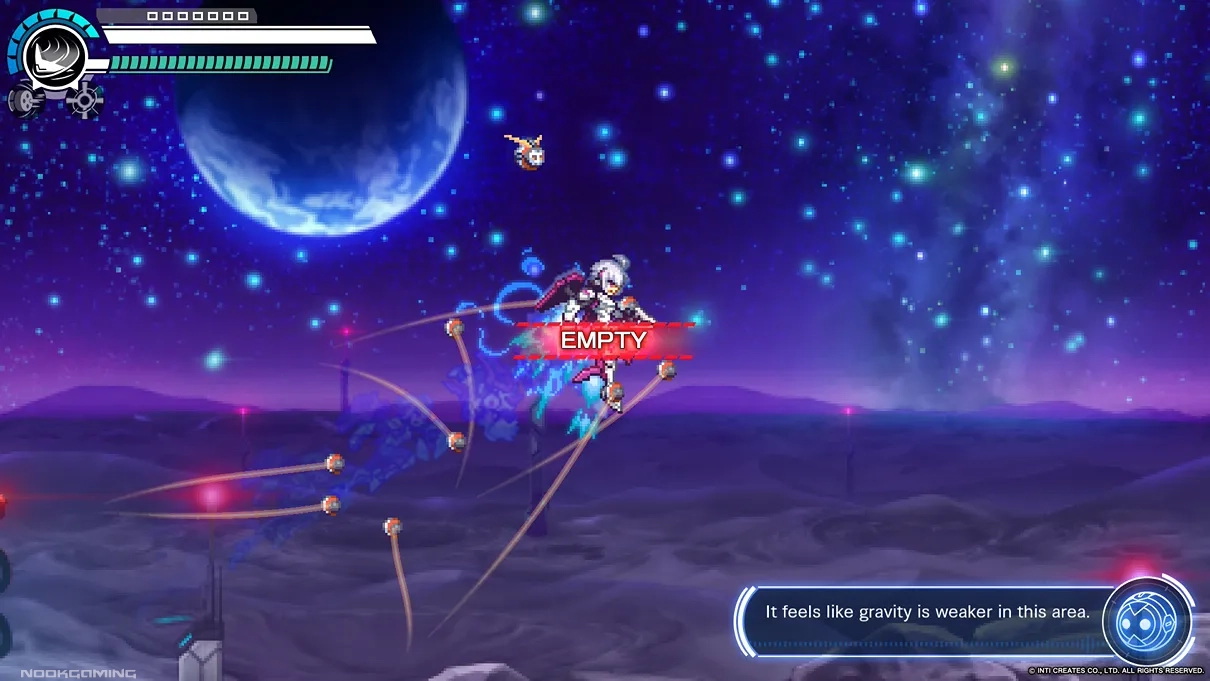
Space Block
- Emblem #1: After clearing the outside area and reaching the first indoor area, head inside and go to the small corridor placed at the top left of the room. The first Bonus Emblem will be there.
- Emblem #2: After heading further into the stage and reaching the second exterior section, find a bottomless pit with two Dark Mines (the floating yellow hexagonal enemies) floating in it. Head down and you’ll find a small room with the second Bonus Emblem inside.
- Emblem #3: After destroying the first Hexapyle and reaching the second half of the stage, clear the path of floating asteroids until you reach the next indoors area. Head downwards towards the area that looks like a bottomless pit, and then Bullit Dash forward. The third Bonus Emblem will be there.
- Emblem #4: Near the end of the level, you’ll come across a conveyor belt with the final Bonus Emblem resting on it. Defeat the enemies blocking your way quickly and reach the Bonus Emblem before it falls in. Alternatively, you can use the EX Weapon Rolling Ripper (obtained by clearing Space Block) to grab it as soon as you see it.
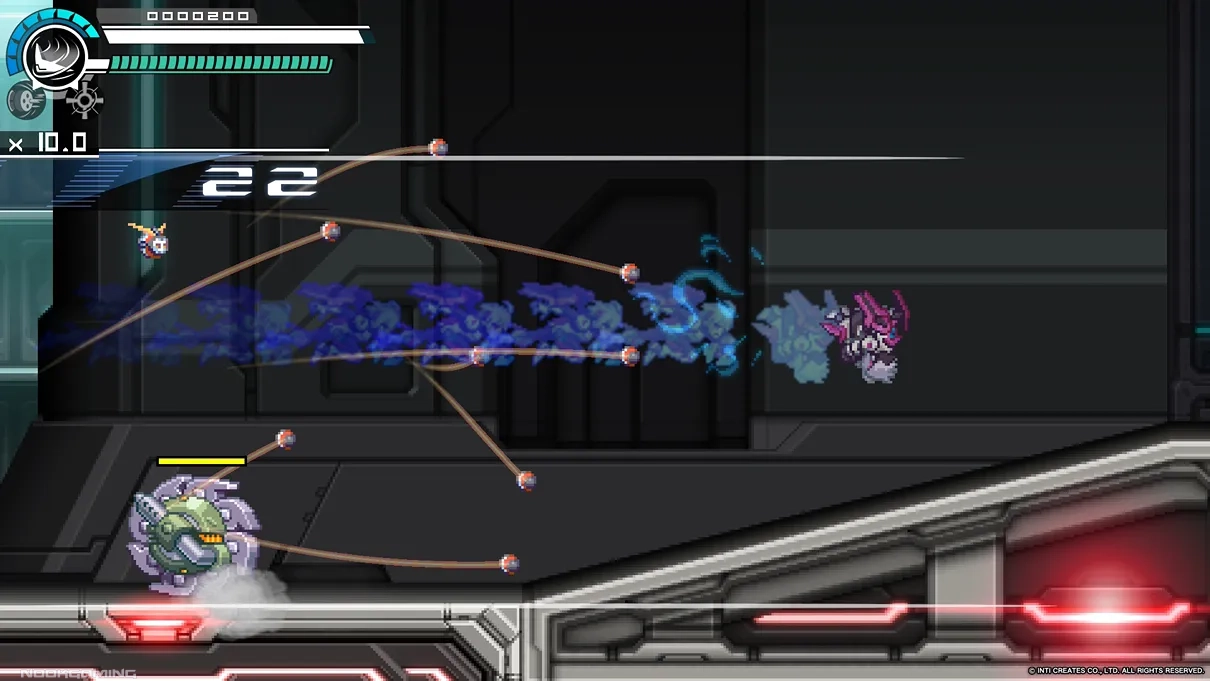
Industrial Block
- Emblem #1: The first Bonus Emblem can be found near the first instance of exploding platforms, with the Emblem sitting behind an impassable wall and needing to be grabbed with Rolling Ripper.
- Emblem #2: The second Bonus Emblem can be found in the section of lifts above spikes beating the stage’s mini-boss. It is placed just above a wall of spikes at the far right of the room.
- Emblem #3: The third Bonus Emblem can be found after reaching the second half of the stage, after destroying the first hexapyle. Head to the large room in the northwestern section of the level with a lot of mines. Safely detonate every mine in that area by either flying over their sensors or attacking them from a safe distance, and the third Bonus Emblem will drop after destroying the final one.
- Emblem #4: The final Bonus Emblem is found near the end of the stage. In the room just before the second hexapyle, jump towards the two conveyor belts that lead to the upper left corner. That corner will have an indent in the wall. Walk right into the indent, and you’ll grab the Bonus Emblem.
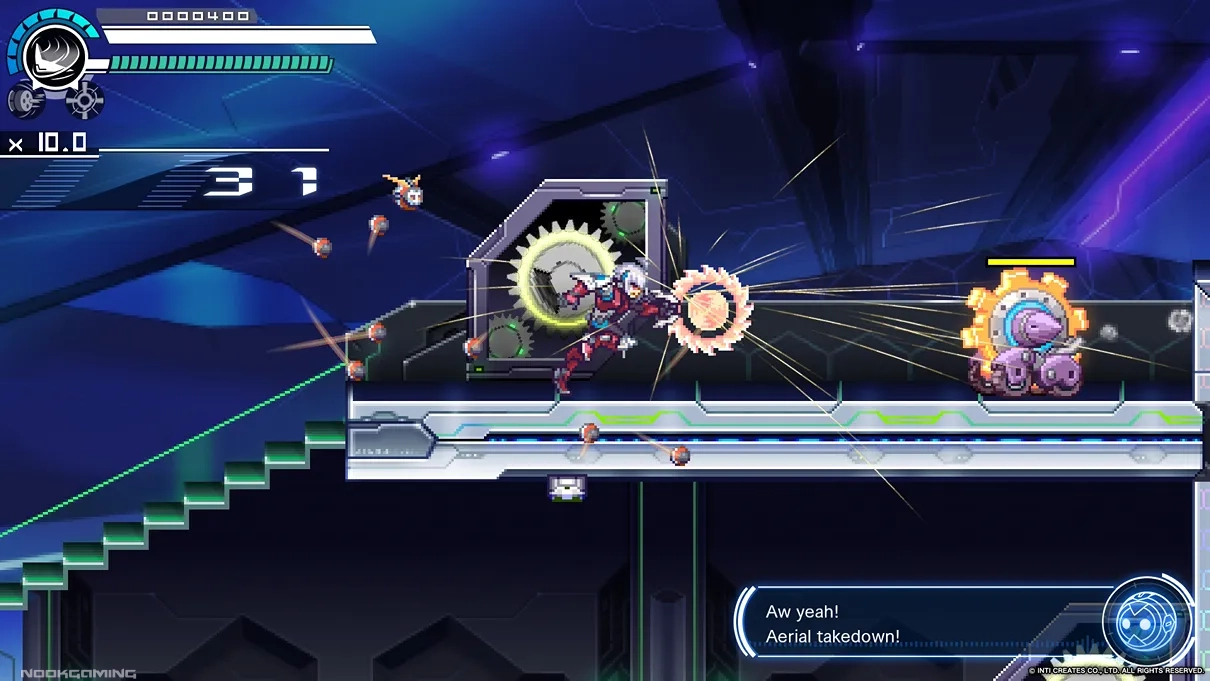
Laboratory Block
- Emblem #1: To get the first Bonus Emblem, head to the top left of the first section and disable the laser guarding it by spinning the nearby gear with your Razor Wheel. Alternatively, you can grab it without doing that by using Rolling Ripper.
- Emblem #2: Still in the first half of the stage, locate a glowing green box that is guarded by a laser. Destroy the laser, and then destroy the box with Gatling Blitz. Head inside the hole it was hiding, and you’ll reach a section where you’ll be on a timer to turn every gear within a room. Do that, and you will be granted the second Bonus Emblem.
- Emblem #3: In the stage’s second half, the third Bonus Emblem will be found in a small room off to the side that is in direct fire of a laser. Beat the laser there (or alternatively, use Cryo Flash to freeze time), and the Bonus Emblem will be at the room’s other end.
- Emblem #4: After climbing up a shaft with lasers, search for another glowing green box in the upper left corner of the room. Destroy it with Gatling Blitz, and the final Bonus Emblem will be directly behind it.
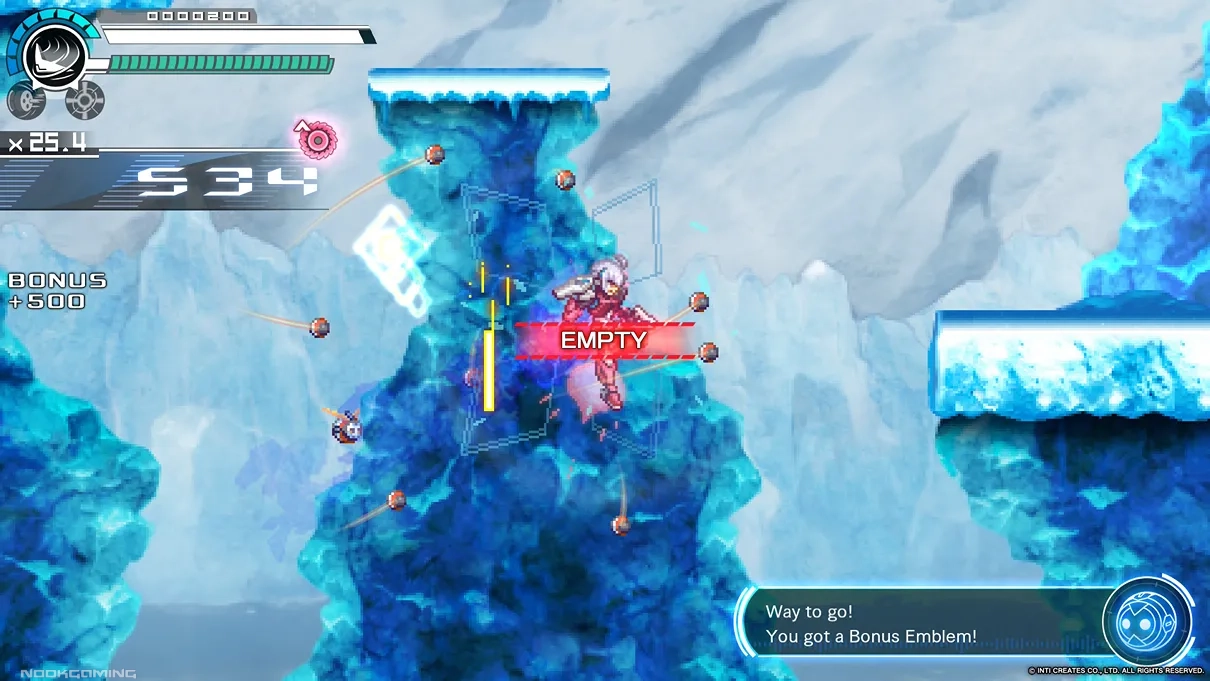
Arctic Block
- Emblem #1: The first Bonus Emblem is hard to miss at the start of the level. Just after defeating the first Scrap Launcher (the large enemy who shoots blocks of junk across the ground), find a thin floating platform of ice and jump on it. The Bonus Emblem will be directly below it. Fall down through the platform, and then Bullit Dash back up to safety.
- Emblem #2: Just before heading into the blizzard in the first half, head up towards a furnace. Use Doomsday Charge to activate it, wherein you’ll be given 10 seconds to reach the other side of the blizzard before the door closes. The second Bonus Emblem is hidden behind the door. To reach the door in time, time a bullet dash when the wind blows right to carry your momentum as far as possible. If you mess up, simply head back and reignite the furnace.
- Emblem #3: The second half of the stage introduces destructible blocks of ice, with blue-colored ones being destructible by any kind of attack while purple-colored ones can only be destroyed with Doomsday Charge. The third Bonus Emblem is found by proceeding normally into the level until you find it placed under purple blocks of ice. A Scrap Launcher is placed on top of it. Instead of destroying the Scrap Launcher, lock onto it with a dash. Once that’s done, charge up a Doomsday Charge to full power, and then hover over the Scrap Launcher. This will allow you to aim the Doomsday Charge downwards, letting you launch it towards the ice and melting it, letting you get the Bonus Emblem.
- Emblem #4: Somewhat later into the stage, you’ll find the final Bonus Emblem in the ceiling placed behind some blue blocks of ice. While any weapon will do to break it, it’s easiest to break it using Whirling Chopper.
Passage to Top Floor
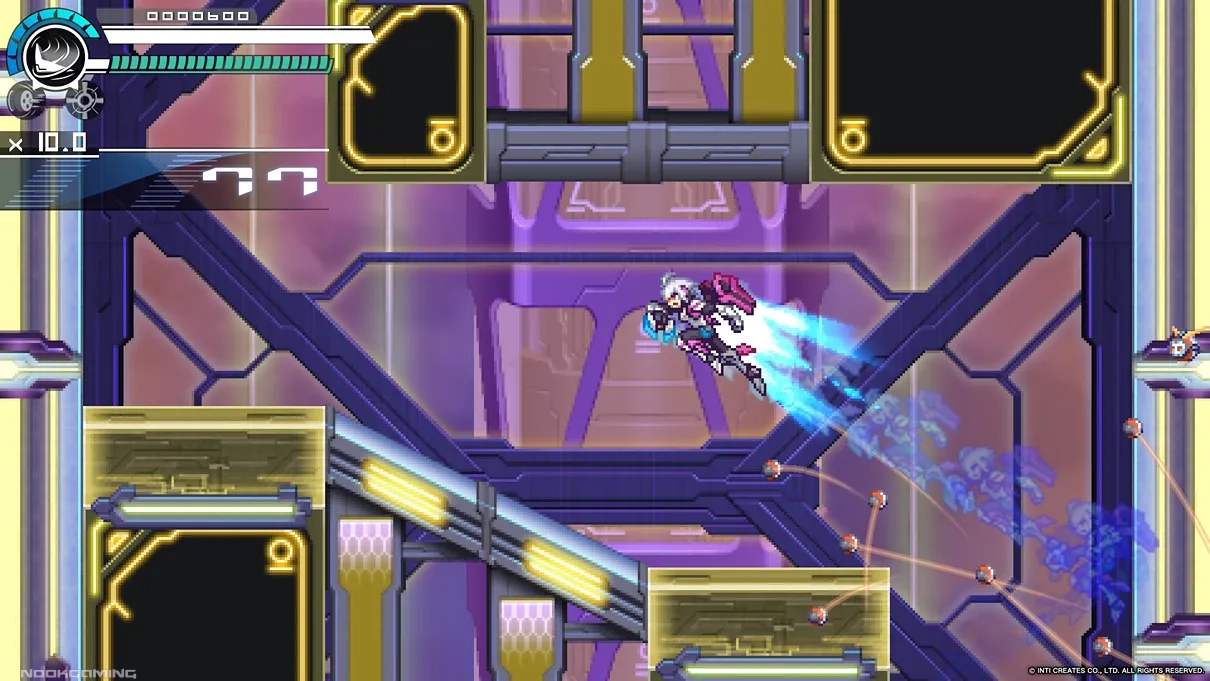
- Emblem #1: The first Bonus Emblem can be found during the sequence where you are being chased by rising poison. It is visibly behind some neon green blocks that can be destroyed using Gatling Blitz. Do so and grab it before the poison reaches you.
- Emblem #2: In the section after the above, take a ride on the moving platforms until you see the same burnable ivy found in the Jungle Block stage on the lower right of the screen. Use Doomsday Charge on this ivy to burn it away, and the second Bonus Emblem will be just behind it.
- Emblem #3: In the section after this, where you are boosting across spiked floors and ceilings, you’ll see the third Bonus Emblem after climbing up a shaft of air boosters. Turn around and use a Bullit Dash to reach the third Bonus Emblem, then float back to one of the air boosters to reach safety.
- Emblem #4: The final Bonus Emblem will be found in the second rising poison sequence after defeating the stage’s mini-boss. It will be between two impassable pillars and can be grabbed using Rolling Ripper
After Obtaining All Emblems
After obtaining all of the Bonus Emblems from every stage, head to the final stage (Hanging Gardens 2) and play as you normally would until you reach the part of the map where things become distorted and purple-colored. As soon as things are distorted, check for a purple pillar denoted by its cliff-edge jutting out of it. Jump down that cliff and slide down its wall until you enter a hidden room, which will only open once you have all Bonus Emblems. Enter that hidden room, and a short cutscene will play where you will unlock Hard Mode.
Hard Mode
The next step is to complete Hard Mode. As the name suggests, Hard Mode is considerably more difficult than the main story, featuring far more aggressive boss battles and some added restrictions on the player. Copen is locked to Level 1 with only 200 HP, has no access to purchasable upgrades, will lose all Kudos upon being hit a single time, and doesn’t have access to Lola’s Healing ability. Stages additionally no longer have Bonus Emblems in this mode, meaning the only way to obtain Kudos is to defeat enemies. Players will have to start from scratch and clear every stage again, with EX Weapons additionally locked off to the player until they re-complete levels in this difficulty. Additionally, bosses have had their weapon weaknesses changed. This mode also includes an old-school Lives system, where dying too many times will incur a Game Over and send the player back to the start of a given level.
Unlike Normal Mode, most stages in Hard Mode can be completed in any order. Boss weaknesses have also been rearranged here.
These are the new boss weaknesses in Hard Mode:
- Dacite’s new weakness is Cryo Flash, obtained by defeating Hail in the Arctic Block.
- Vespa’s new weakness is Rolling Ripper, obtained by defeating Ace in the Space Block. This also applies to her rematch paired with Autochrome in the Passage to Top Floor stage.
- Brigade’s new weakness is Doomsday Charge, obtained by defeating Dacite in the Volcano Block.
- Autochrome’s new weakness is Whirling Chopper, obtained by defeating Vespa in the Jungle Block. This also applies to his rematch paired with Vespa in the Passage to Top Floor stage.
- Hail’s new weakness is Optic Barrier, obtained by defeating Autochrome in the Laboratory Block.
- Ace’s new weakness is Gatling Blitz, obtained by defeating Brigade in the Industrial Block.
- The revised boss fight’s weakness in Passage to the Upper Stratum is Whirling Chopper, obtained by defeating Vespa in the Jungle Block.
- The new weakness for Phase 1 of the final boss is Anchor Nexus. Phase 2 does not have a specific weakness.
If you still find yourself struggling too much and just want to complete the story to see the true ending, an Assist Mode can be enabled that gives the player 999 lives and regains access to Lola’s healing abilities. Keep in mind, however, that this option cannot be enabled or disabled in the middle of a save file, and players must enable this by starting a new game in Hard Mode.
How to Reach the True Ending
Completing Hard Mode grants some new story beats as well as the true ending.
Review: Click Here
If you would like to see more platformers, you may be interested in our review of Super Mario Bros. Wonder.
Many thanks go to Inti Creates for a Nintendo Switch 2 review code for Luminous Avenger iX 1+2 Dual Collection.

A hobbyist who took up the pen to write about their favorite pastime: games. While a lover of many genres, Isaiah Parker specializes in Platformers, RPGs, and competitive multiplayer titles. The easiest way into his heart is to have great core gameplay mechanics. Self-proclaimed world’s biggest Sonic fan. Follow him @ZinogreVolt